Tuesday, February 26, 2019

Feburary Photograpy Session

This photo session! These girls! The dresses! That PINK backdrop!!!! I mean, come on. I can't get over how amazing everything looked this month. It all came together beautifully, and we had the best time on this session. I could not have asked for a better group of gals. And as always Shelby Andal brought her A game. If you would like to read about her experience check it out here: https://shelbyandal.com/2019/02/27/february/

Photo credits: Shelby Andal Photography
Such a great group of gals
A lot went into the planning of this session. I had an ideas of which patterns I wanted, and the fabric I planned to use. Shelby and I sat down and talked about each pattern, picked our models, and the look we wanted to present. She picked out this pink background paper, and oh my goodness it looks so great. It really made the colors pop, and the black really stands out.

We knew we wanted to work with teens this month because of the fun party feel that the dresses have. With the exception on the pink floral dress, they are all  from the 1960's. I knew when it came to hair and makeup I wanted to pay homage to the time period. I tired to give each girl a look that complimented  her, and would fit with the style of each dress. I am so pleased with the finished looks.

Hannah rocking the mod look

One of my all time favorite dresses
Love this color for Ava! 
Looking fierce in purple and pink

Sweet Leila. So pretty

This whole look is stunning

Annalee this pink dress was meant for you!

Those pigtails. Love it
Look at these dolls.


Friday, February 22, 2019

Week 8 Pink and Purple Flowers

For week 8 I wanted to do one of my patterns that is more size inclusive. Simplicity 8889 from 1970 size 24 1/2 bust 47 fits like a modern women's  2x. I love this pattern. I got this at Goodwill so long ago. It even still has the sticker on the front. Its a great basic princess dress, and would look good in a variety of different fabrics. I chose to work with crape back satin in fuchsia pink with purple and white flowers. I love bold prints, and I find that a lot of "plus sized" dresses shy away from them. So when I decide on this pattern I knew I wanted something colorful and fun.
View 1 in pink
For this dress I did a few alterations to it. I knew the girl that would be modeling this one this month. She is fun and I knew she wouldn't shy away from a bold dress. I made the dress according to the pattern, and then altered it to fit her body. This meant taking it in about 4 inches to get the best fit.  I followed the directions as they were printed with the exception of changing the lining to encompass more of the bodice area. I also altered the sleeves to be 3/4" length because it was more flattering on.
Lining on the front of dress
I have to say that this dress pattern is great for if you want to make one quickly. It only takes a few hours to finish, and depending on the fabric you chose could be anything from a simple day dress to fun party dress. If you ever come across this one I recommend adding it to your collection.

Thursday, February 21, 2019

Week 7 Pink Party

Full disclosure, I have made this dress before. Like a lot. It use to be one of my go to patterns before I had children. I bought this one at a local thrift store while I was in high school. I have made this dress for personal use, for friends, and for stage with the local Theatre group. It's a good one. Simplicity 4491 from 1962 size 11 bust 31 1/2". I know it might seem a cheat to do a pattern that I'm so familiar with, but I love this one so much. Plus it's just so pretty that I couldn't imagine doing this project with out it.
She's been well loved
This pattern is so easy. It features 4 main body pattern pieces, one sleeve option, and neck, back,and arm lining patterns. At some point in time I have misplaced the sleeve pattern, so that's disappointing. There is always the possibility that it has been mixed in with another pattern, so MAYBE I will come across it again. When I make this dress I always do a fully lined bodice. I tend to use lighter weight fabrics with this one so it just works out better that way. This time since I'm using a netting I did a lining piece and facings too I start by cutting the bodice pieces out of both main and lining fabrics. I sew the front bodice to the back on both fabrics at the shoulders. Then with right sides together I line up both sections and stitch together at the neck and arms. Next I turn it right side out(wrong sides together) and sew the darts in the front, bust, and back. Lastly I sew thee side seams and set it aside. 
Inside view of bodice lining and darts

Next I move on to the skirt. This is a simple gathered skirt with a pleated panel in the front. I just followed the pleat line of the front panel. Then I gathered the two back panels, and stitched them to the front. I attached the skirt to the bodice making sure to line up the side seams. At this point all that is left to do is add the zipper. Here you want to make sure that you leave a enough of the center back ungathered so it will be easier to attach the zipper. I find that it makes it harder to zip if the fabric is thicker in any given spot. 
The finished dress
I added a petticoat underneath to make the skirt fuller, and I think it added so much to the finished look. I love the bright pink, and how fun and playful this party dress turned out. 
Peekaboo Petticoat


Wednesday, February 20, 2019

Week 6 Sequins

This Pattern! It has to be one of my absolute favorite. Simplicity 8534 from 1969 size 12 bust 34 fits like a modern size medium. It was such a simple pattern to follow and it looked so good when it was all finished. I found the instructions to be clear and concise. The pattern is labeled as a "designer fashion" has 4 main pattern pieces, 3 lining pieces, and POCKETS! I love pockets in a dress . They make it so much more appealing. I made this dress using 1/2 a yard of crape back satin in black and a remnant of black sequin material.

Because I used a sheer embellished fabric, (and I like to make my life harder) I needed to fully line the dress. I used a yard of black dressing lining and cut all the main pattern pieces out of it. I cut the front panel and skirt back from the sequin, and the front side and back panels from the satin. I was basically making two complete dresses and joining them together at the neck, sleeves and the back seam. I started by sewing up the outside shell of the dress. I attached the front panel/skirt to the side panels, and then gathering the skirt back, stitched to the back upper panels. I left the sides and back open to make attaching the liner easier. Next, I sewed the lining the same way, and with right sides together I attached them at the neck and arms. I then pulled it right side out, and sewing up the sides. I attached the zipper, sewed up the back, and hemmed the dress. 

I'm a big fan of this pattern. It is easy, quick to sew, and turns out exactly like its pictured. While i don't think it its versatile enough to use just any fabric, with the right one it makes a great party dress.  

Tuesday, February 12, 2019

Week 5 Poodles and Velvet

This week was a simple one, and thank goodness. I picked McCall's 2630 from 1970 I chose a grey chiffon with flocked poodles, and a black velvet to use. The pattern consisted of 5 main pattern pieces, and the instructions were simple and straight forward. It is a size 12 with a 34" bust that fits like a modern small/medium. I found this pattern at a local antique store and it only cost me .50 cents. It was part of a pick 10 for $5 box. The poodle fabric I've had for a couple years, and I picked up the black from Joann's. 
size 12
34"bust
I went with view B for this one, because I wanted to do the short sleeves. Honestly, I could have gone for all three versions of this one.  I love the waistline on this pattern. How it comes to a v and has slight gathering across the sides and back would look flattering on so many body types.

As far as construction goes, this one was simple. It would make a good option for somebody that was just starting out, or looking for a quick day project. It came together quickly and easily. For my version I shortened the skirt slightly and changed the lining/ facings for the bodice. I did run into the same common problem of ends not lining up properly. As always it's an easy fix, and didn't hinder the look of the final project.  Since I made the skirt of the dress in a chiffon I needed to add a lining. I used a silver satin and hemmed it about 2 inches shorter that the poodles. I added an invisible zipper in back.
uneven edges of front and back panels of the bodice 

All done!
I loved the look of the finished project, but I think I may do this one again as the long sleeve version. I can see this becoming one of my go to patterns. It was just too easy, and fun to sew. 

Friday, February 1, 2019

Photo Shoot Day!!!

OH MY GOODNESS! What an incredible day I had on the photo shoot with Shelby Andal Photography. It's always fun to work together. I wasn't sure what to expect with our January session, but it went better than I could have ever imagined. Shelby was on point! Her vision was great, and she has this bubbly personality that just makes people respond to her. Our models were PHENOMENAL, and such a joy to be around. They were so excited to be there, and their personalities meshed so well together. I think it really shows in the photos.

Towards end of last year I meet up with Shelby for lunch. During the visit we got into a discussion of projects for the new year. Shelby is such a creative person, and is always growing and evolving her photography business. I'm in awe of her talent. While on the subject I told her of my 
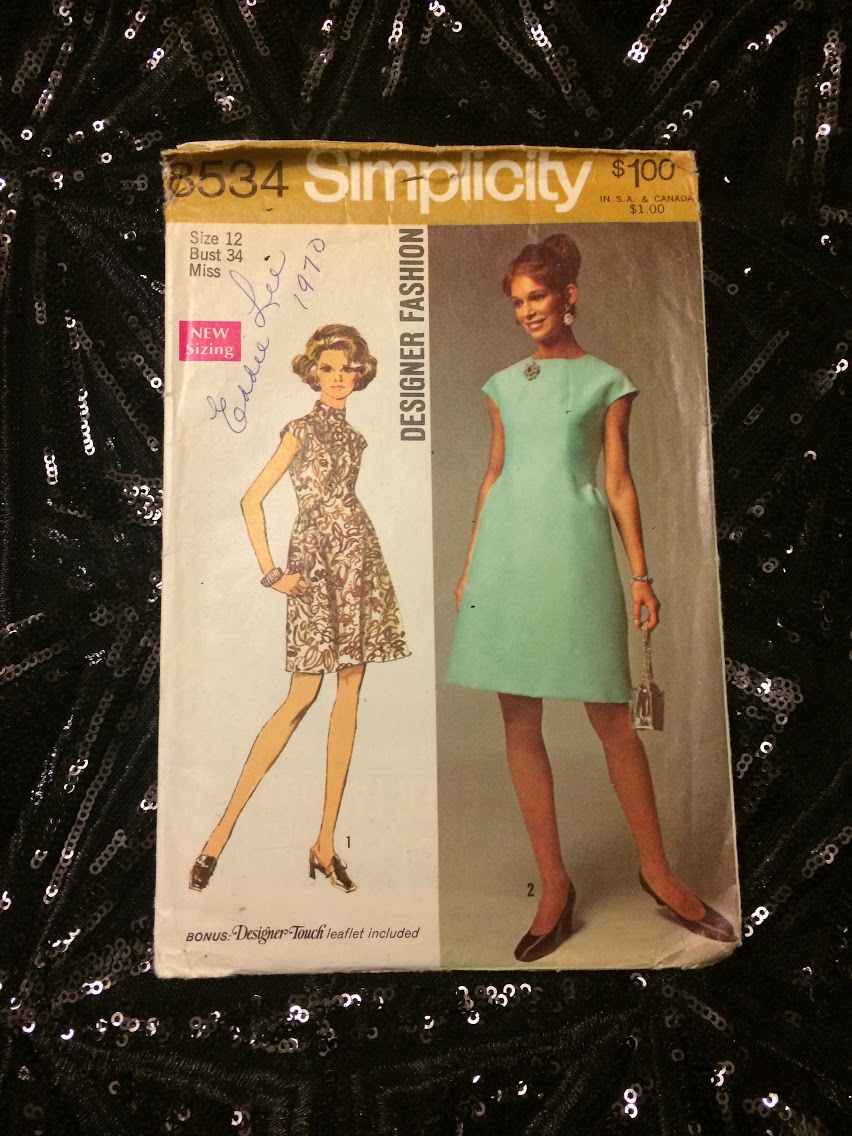
vintage pattern project, and she was IN. Shelby put out an official model call on her blog and social media accounts, and the response was overwhelming in the best way. We knew then that we were in for an adventure Over the next few months we talked ideas for my patterns and vision for her photography sessions. We planned a specific look for each month some involving themes, some just based on the color of the garments.

For January my main colors were burgundy and brown. I knew that since this was our "trial run" we would focus on color more that any sort of theme. We sat down and went through all our applicants and choose three ladies that we thought would look great together an fit the dresses the best. Rheanne, April, and Pamela were the perfect models for my dresses. It was like the dresses were tailor made for their shapes. I went in to the fitting fully prepared to need adjustments, but it all look so great on them. The best part was when one would walk out and we just knew that THAT dress was meant for her. To go along with the dresses I supplied them with vintage jewelry from my personal collection and some of my favorite shoes. I also did the hair and make up. Shelby chose an almond colored backdrop, worked her magic, and it all came together beautifully.


Photo credit: Shelby Andal Photography


Rheanne in the Plaid Flannel Dress and Pinstriped Jacket


Pamela KILLING it in that hat

April and the sass

So much FUN with these ladies!

April In the Dachshund Dress

Stunning 

One of my favorite shots 

Pamela in the Floral Corduroy 

March Vintage Pattern Project

March was so much fun. We had such a great group of ladies this time, and Shelby really knows how to bring out the best in everyone. I had a...