Wednesday, January 30, 2019

Week 4 Cropped Jacket


So, I went rouge this week. I had decide to go easy on myself, and then completely didn't.  I picked the Simplicity pattern 6099 from 1965.  I chose to just do the jacket on this one. I liked the dress, but the scalloped edge collar was calling my name. I went with a pinstriped navy suiting that I have had in my stash for a while. I got it from Sir's Fabric. This used to be my go to fabric store before it burned down a couple years ago. I'm still not over the loss. I also picked this burgundy crest fabric. This was given to me by a friend that was cleaning out her house. The original pattern was only faced at the neck, and front facing making it a simple and straight forward pattern. I prefer a fully lined jacket, and making my life harder. So I skipped the instructions and just did my own thing. 
 
Pattern, pinstriped outer, and burgundy crest lining


For this pattern I used all the pattern pieces except the neck facings. First I cut out the front and back panels and sleeves from both fabrics. Next, using only the pinstripe and interfacing I cut out the collar, and stitched it making sure to clip the curves so it would lay nicely. I cut out the front facing making sure to add about an inch for a seam allowance. I stitched all the dart lines on both fabrics, and set the pinstriped aside. for the lining I laid the facing pattern over the lining fabric and cut that away. I then pinned the navy facing to the burgundy lining and stitched.
Lining fabric pinned to facing fabric

inside of the finished jacket
Next, I moved on the the sleeves. This was the same basic idea as the lining. I cut the sleeves from both materials. I made the lining about an inch shorter so it will incorporate the navy into the seam line  when the sleeve is turned out. This lets the seam be hidden inside the arm. It just gives the finished garment a cleaner look.
lining pinned at the wrist

sleeve pinned and ready for stitching

view of the outside and inside of the left arm

After the sleeves were done I was ready to assemble the jacket. I sewed together the outer shell, and the lining. I then attached the sleeves to their corresponding fabric. I sandwiched the collar between the lining and outer shell fabrics with the right sides together. Now all I had to do was sew it up. I did this as if i was sewing a lined purse, by leaving an opening in the lining to pull it through. Once it was right side out I hand stitched the opening closed, pressed the jacket, and added a button and button hole instead of the tie closer the original pattern calls for. 
hole in the lining I turned the jacket out through


all said and done
I have to admit that even though my version was a lot more work I love how it turned out. This is a pattern I can see myself using again.  I think it would look so great in a brighter color or floral print. But that's a project for another day.


Tuesday, January 22, 2019

Week Three In Corduroy


Week three is complete, and to be honest I'm glad. I chose the McCall's pattern 8865 printed in 1967. It is a simple A-line dress with a front panel and button detail. I pick a vintage corduroy I had in my stash and a vintage plastic floral button. The pattern is a size 12 which is equal to a modern women's size small. I went with version A because I liked the 3/4" sleeve. The finished product turned out lovely, but the getting there was rough.

pattern and fabric 
Button at neckline
First I would like to say that I was not happy with the instructions for this pattern. Particularly when i got to the front panel. The instructions were overly complicated, and too confusing to follow for what should have been a simple dress. I ended up just putting them to the side, and making the dress the way I wanted too. If you are familiar with dress making then construction on this one isn't an issue.  I am not overly fond of McCall's, and patterns like this are the reasons why. You may feel differently. This is just my opinion.

The pattern had you sewing the front side planes to the back (right sides together), then doing the neck facings, and lastly turning right side out attaching the front panel by folding the edge under and top stitching it.  While that sounds simple enough it was the overly detailed instructions that made it a challenge. 

After reading through it a few times I decided to do a simpler approach. I sewed the front side panels together by putting right sides together, and the turning out top stitching the seam lines. After that I attached the dress front to the back, then did the lining, and attached the sleeves. I felt it was a much quicker way to the same result. 

Another issue I ran into was that the hem lines didn't meet up at all. This could just be chocked up to the fact that the pattern was used. It had been pre-cut by the previous owner and could just be that she chose to shorten it, and only altered the one pattern piece. Anyways its an easy fix and didn't affect the finished dress.
wrong side view of front and back panels
All in all I think the dress itself turned out really cute. I love the floral corduroy, but I think that this dress would look so great in a solid color too.
There she is 

Sunday, January 13, 2019

Week two here we go!

OK, week two's dress is done! This week I went for the vintage Simplicity pattern #4024 from 1961. It's labeled a "simple to make pattern", and it honestly only took a day to sew. It's a junior size 13 which is the equivalent to a modern women's small. I initially was planning on view 1, but ended up doing the shorter sleeves of view 2. I don't know why. I guess i was just feeling the other dress. I used a maroon shirting fabric with cream and tan dachshunds all over it. I had originally bought the fabric to make myself a dress, (I'm larger than a junior 13) but I thought it would be a perfect match for this pattern. I'm a sucker for dachshunds so Joann's saw me coming. I picked up a cream colored trim, and finished with some vintage pearly buttons that had come from my husband's grandmother's sewing  stash.

The dress has a front button closer, a full gathered skirt, and finished in rick rack trim.I agree that is a simple pattern, but there were a couple of issues I found with it. One was those pesky neck facings again. Now on this particular pattern I chose to leave the neck facing alone. Since I was adding the rick rack to the dress it's stitch line would follow the bottom of the facing, and I didn't feel the need to change it.
We meet again neck facings

My other complaint is the opening on the  front of the skirt. Against my better judgment I decided to follow the cutting line on the pattern sheet, and the bias binding in the directions. The cut was way too long, and even though the folds overlapped each other there was still a question of being able to see through the slit. Simplicity's solution was to sew in snaps and hook and eye, but i didn't see the point in all that. I ended up sewing all but about two inches of gap closed. On the outside it looks much nicer, and still left plenty of room to slip the dress on. I'm not 100% happy with the inside, so I may go back and tinker with it. For now though it's finished.
Big ole gap
My "fix"

right side view after alteration
Overall I was pleased with the way the dress turned out. I thought the instructions provided were well written and easy to follow. I do think Simplicity patterns are pretty good about that. I liked my choice of fabric for this pattern, and had fun sewing it.
TA DA!!

Monday, January 7, 2019

Week One The Flannel Dress

I decided that for January i would go with the color maroon. I already had a length of fabric in that shade so i was looking for coordinating prints. For week one I chose this medium weight maroon, grey, and mustard flannel plaid. I came across it at Joann Fabric. Not only did it coordinate well with the fabric I already owned, but I felt like it had a Gryffindor vibe to it. That has nothing to do with the actual project, but just my tendency to make everything about Harry Potter.

The pattern I chose to use is McCall's 8096 size 12 from 1965. I have to be honest and admit that i don't really care for McCall's patterns. I find that there is always something off about the instructions, the way the pattern pieces line up, or the fit of the garment. But that's just my opinion. This one however was pretty good. The instructions were missing a page. What I did have seemed easy enough to follow, and detailed enough if you were new to dressmaking. I did run into a slight issue with the bodice pieces.
Pattern and fabric

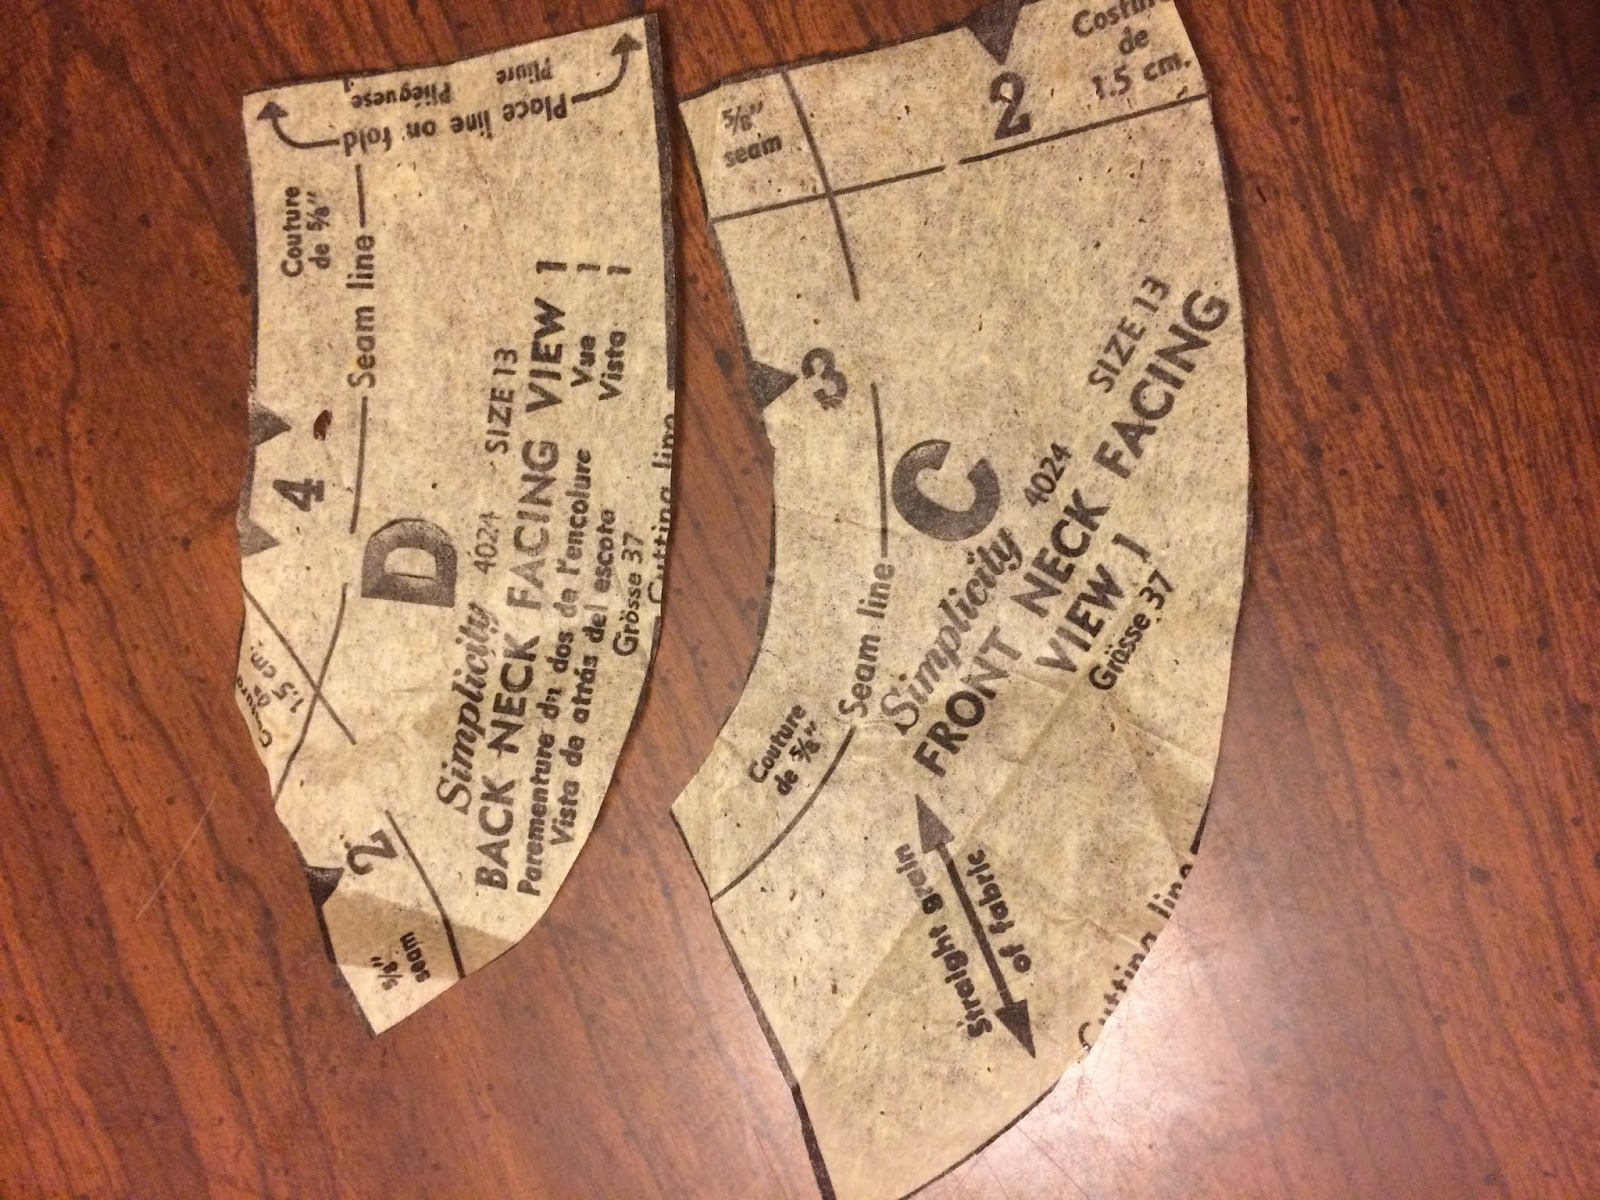
One thing i don't care for (and this goes for all garments) is how they do the lining. I honestly cant stand the small neck facing pattern that most use. I prefer an all lined bodice or for the lining to follow the cut of the arm hole. This one was no different. While my goal is to try and stay as true to the pattern as possible that is one alteration I make. 

 
Original pattern piece (boo) and my altered version

Finished! See how nice that looks. 

Now we get to the yoke and the lower portion of the bodice not lining up. It's an easy enough fix. I just adjusted my seam lines on the princess seams, and that solved the problem. I find that issue is common in patterns. Its a minor thing, but still can be kinda annoying.  

overlap where the top portion (yoke) is slightly too short 

With all that said and done, I did really like this pattern. I thought it sewed up nicely, and the finished product turned out great. Its a size 12 which is equivalent to a modern dress size small. 

There she is! She's all done 

Sunday, January 6, 2019

Vintage Pattern Project

I've always had an interest in vintage patterns. I would pick them up at thrift stores and antique stores whenever I found them. I had been toying around with the idea of sewing through my collection, and when my dear friend Karen gave me two boxes stuffed full of them I decided it was time. Thus the project was born.

So here's the plan.I am going to attempt to do one vintage pattern a week for the entire year. There are 52 weeks in 2019. That's a lot of sewing. My goal is to do a vintage dress, skirt, blouse, or coat for each one. I have an assortment of brands, but the majority are Butterick, Simplicity, or Mccalls. They are all originals, not reproductions (not that i don't love a good retro reprint too). I'll be using patterns dating from 1950s through the 1970s. My goal is to post about each one's brand, date, instructions, easy of making the pattern, as well as my opinion on the finished product. I'm not planning on doing any resizing or altering to them unless its necessary. Such as adding pockets, or adjusting linings. Two things i have strong opinions on. More on that later. There is also this www.instagram.com/vintagepatternproject where ill be posting progress pics along with the occasional vintage sewing and fashion accessories if you want to check that out

I sat down and carefully sorted them all out from oldest to newest. Next I went through and picked my favorites, and sorted them into the months I though they would be most appropriate. I'll admit I struggled with this step. At first I thought about just doing them in chronological order, but that seemed kinda boring. Plus, I had some really fun ones that I either wouldn't get to, or would just completely be in the wrong time of the year. Nothing like a strappy sundress in November, am I right. Also, I found I had way too many favorites, so I added a few extras to the stack just to be safe. Finally with my year worth of patterns picked out i was ready to get to work. I have the patterns, fabric, notions, and thread all ready for January. Here we go!!!


The patterns 


March Vintage Pattern Project

March was so much fun. We had such a great group of ladies this time, and Shelby really knows how to bring out the best in everyone. I had a...